Creating your own font can be a rewarding experience, allowing you to express your creativity through unique typography. In this tutorial, we will guide you through the entire process—from sketching your font to digitizing it, refining it in FontForge, and creating stunning preview images using Affinity Designer. This step-by-step guide is designed for beginners and seasoned designers alike.
1. Planning and Sketching Your Font
Before diving into software, it’s essential to have a clear idea of your font style. Here are the steps to get started:
- Conceptualize Your Font: Decide on the type of font you want to create, such as serif, sans-serif, script, or decorative.
- Sketch on Paper: Use a pencil and grid paper to sketch each character. Focus on maintaining consistency in style, proportions, and spacing.
- Digitize Your Sketch: Scan your sketches or take high-resolution photos to import them into Inkscape.
2. Digitizing Your Font in Inkscape
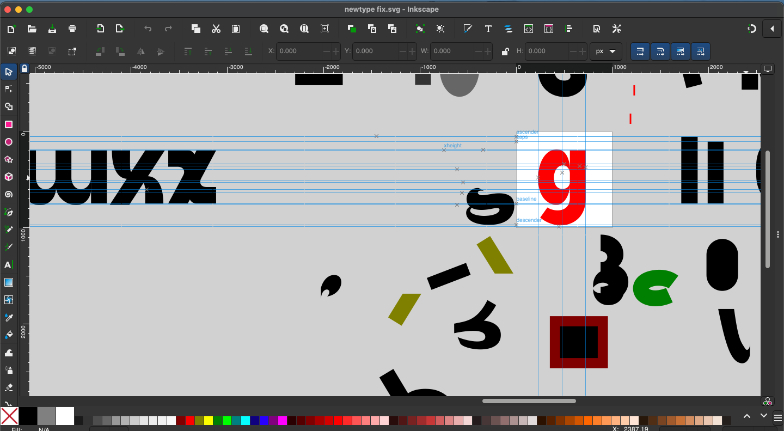
The process of creating the Kupertino Grotesk font
Inkscape is a free and powerful vector graphics editor perfect for converting your sketches into digital artwork.
- Import Your Sketches: Open Inkscape and import your scanned sketches (File > Import).
- Trace Your Characters:
- Use the Pen Tool (shortcut:
B) to outline each character. - Adjust curves and nodes using the Node Tool (shortcut:
N) for precision.
- Use the Pen Tool (shortcut:
- Refine Shapes: Ensure smooth curves and consistent line thickness by zooming in and tweaking node handles.
- Save Each Glyph: Export each character as an individual SVG file. Name files logically (e.g., “A.svg”, “B.svg”).
3. Creating Your Font in FontForge
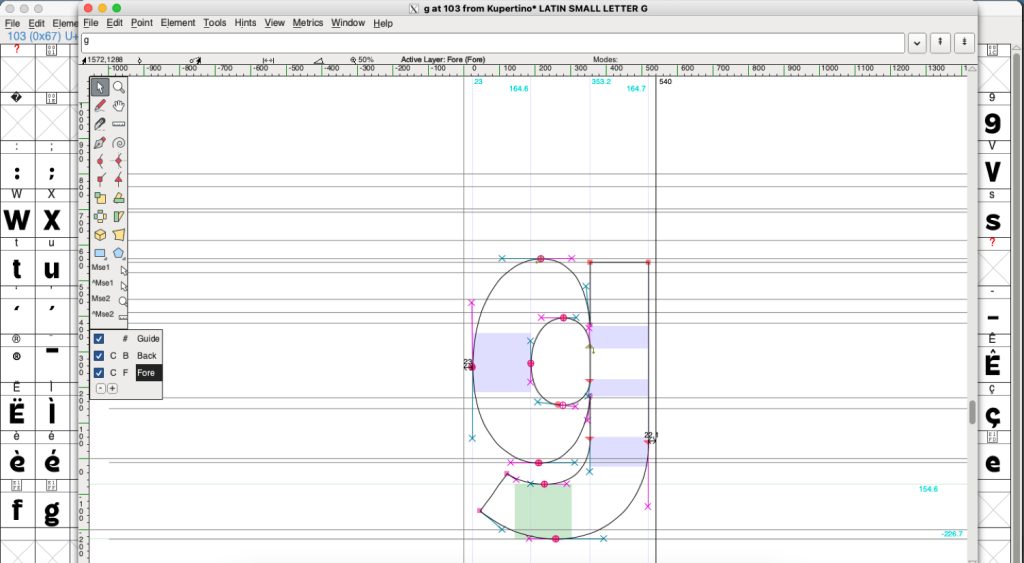
The process of creating the Kupertino Grotesk font
FontForge is an open-source font editor that allows you to assemble your SVG glyphs into a functional font.
- Open FontForge: Create a new font project (File > New).
- Import SVG Files:
- Double-click a glyph slot (e.g., “A”) and select File > Import to add your SVG file.
- Adjust the position and size of each glyph to maintain consistent baseline and height.
- Define Metrics and Kerning:
- Use the Metrics Window to adjust spacing between characters.
- Add kerning pairs for better typography.
- Generate Your Font: Save your work (File > Save) and generate the final font file (File > Generate Fonts). Choose a format like OTF or TTF.
4. Designing a Font Preview Image in Affinity Designer
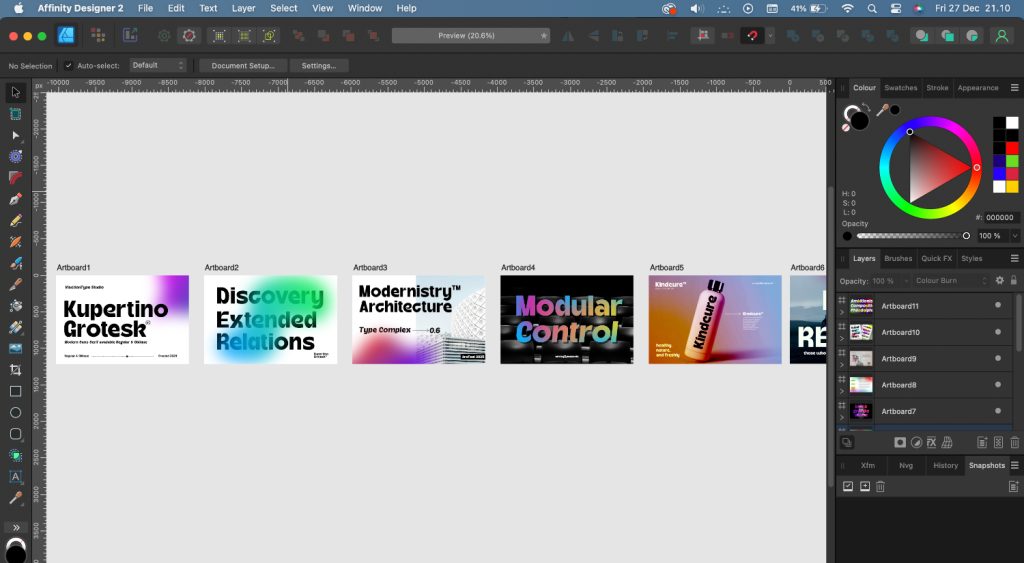
The process of creating the Kupertino Grotesk font
Once your font is ready, create an eye-catching preview image to showcase it to the world.
- Set Up the Canvas: Open Affinity Designer and create a new document. Use a size like 1920×1080 pixels for a landscape preview.
- Add Background and Text:
- Create a visually appealing background using gradients or textures.
- Type a sample text using your font to demonstrate its features.
- Highlight Key Features: Add annotations or close-up shots to emphasize unique elements of your font.
- Export the Preview: Save your preview image in high resolution (File > Export) for sharing online.
5. Tips for Refinement and Distribution
- Test Your Font: Install and use your font in different applications to ensure compatibility and fix any issues.
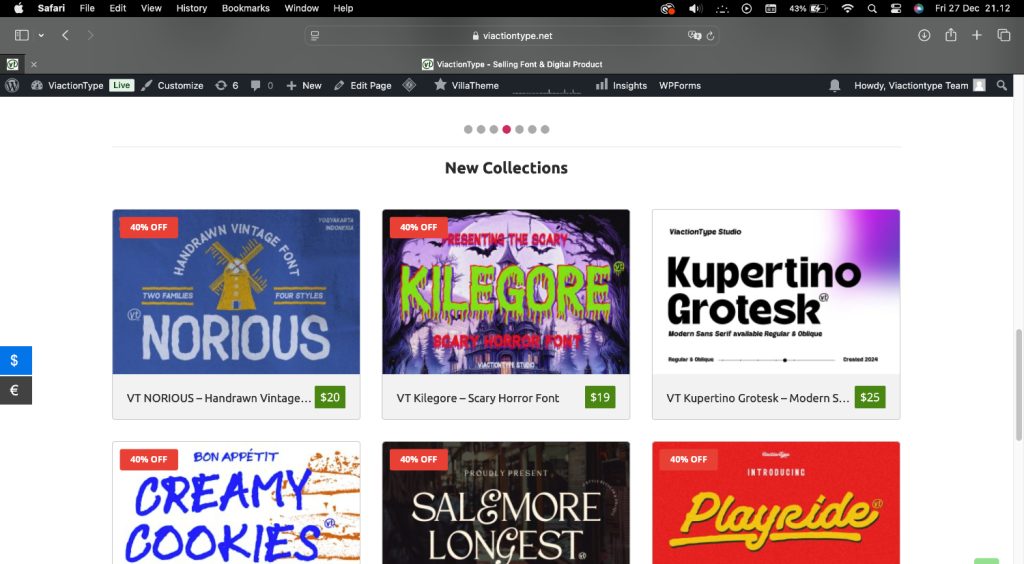
- Share Your Work: Upload your fonts to platforms like Creative Market, Behance, or personal websites like viactiontype.net
- Promote with Keywords: When sharing, use descriptive tags like “custom font design,” “modern typeface,” or “handcrafted fonts.”
By following this detailed tutorial, you can create a professional font from scratch using Inkscape, FontForge, and Affinity Designer. Whether you’re designing for personal use or selling your fonts online, this process ensures high-quality results. Start your font-making journey today and let your creativity shine!
